


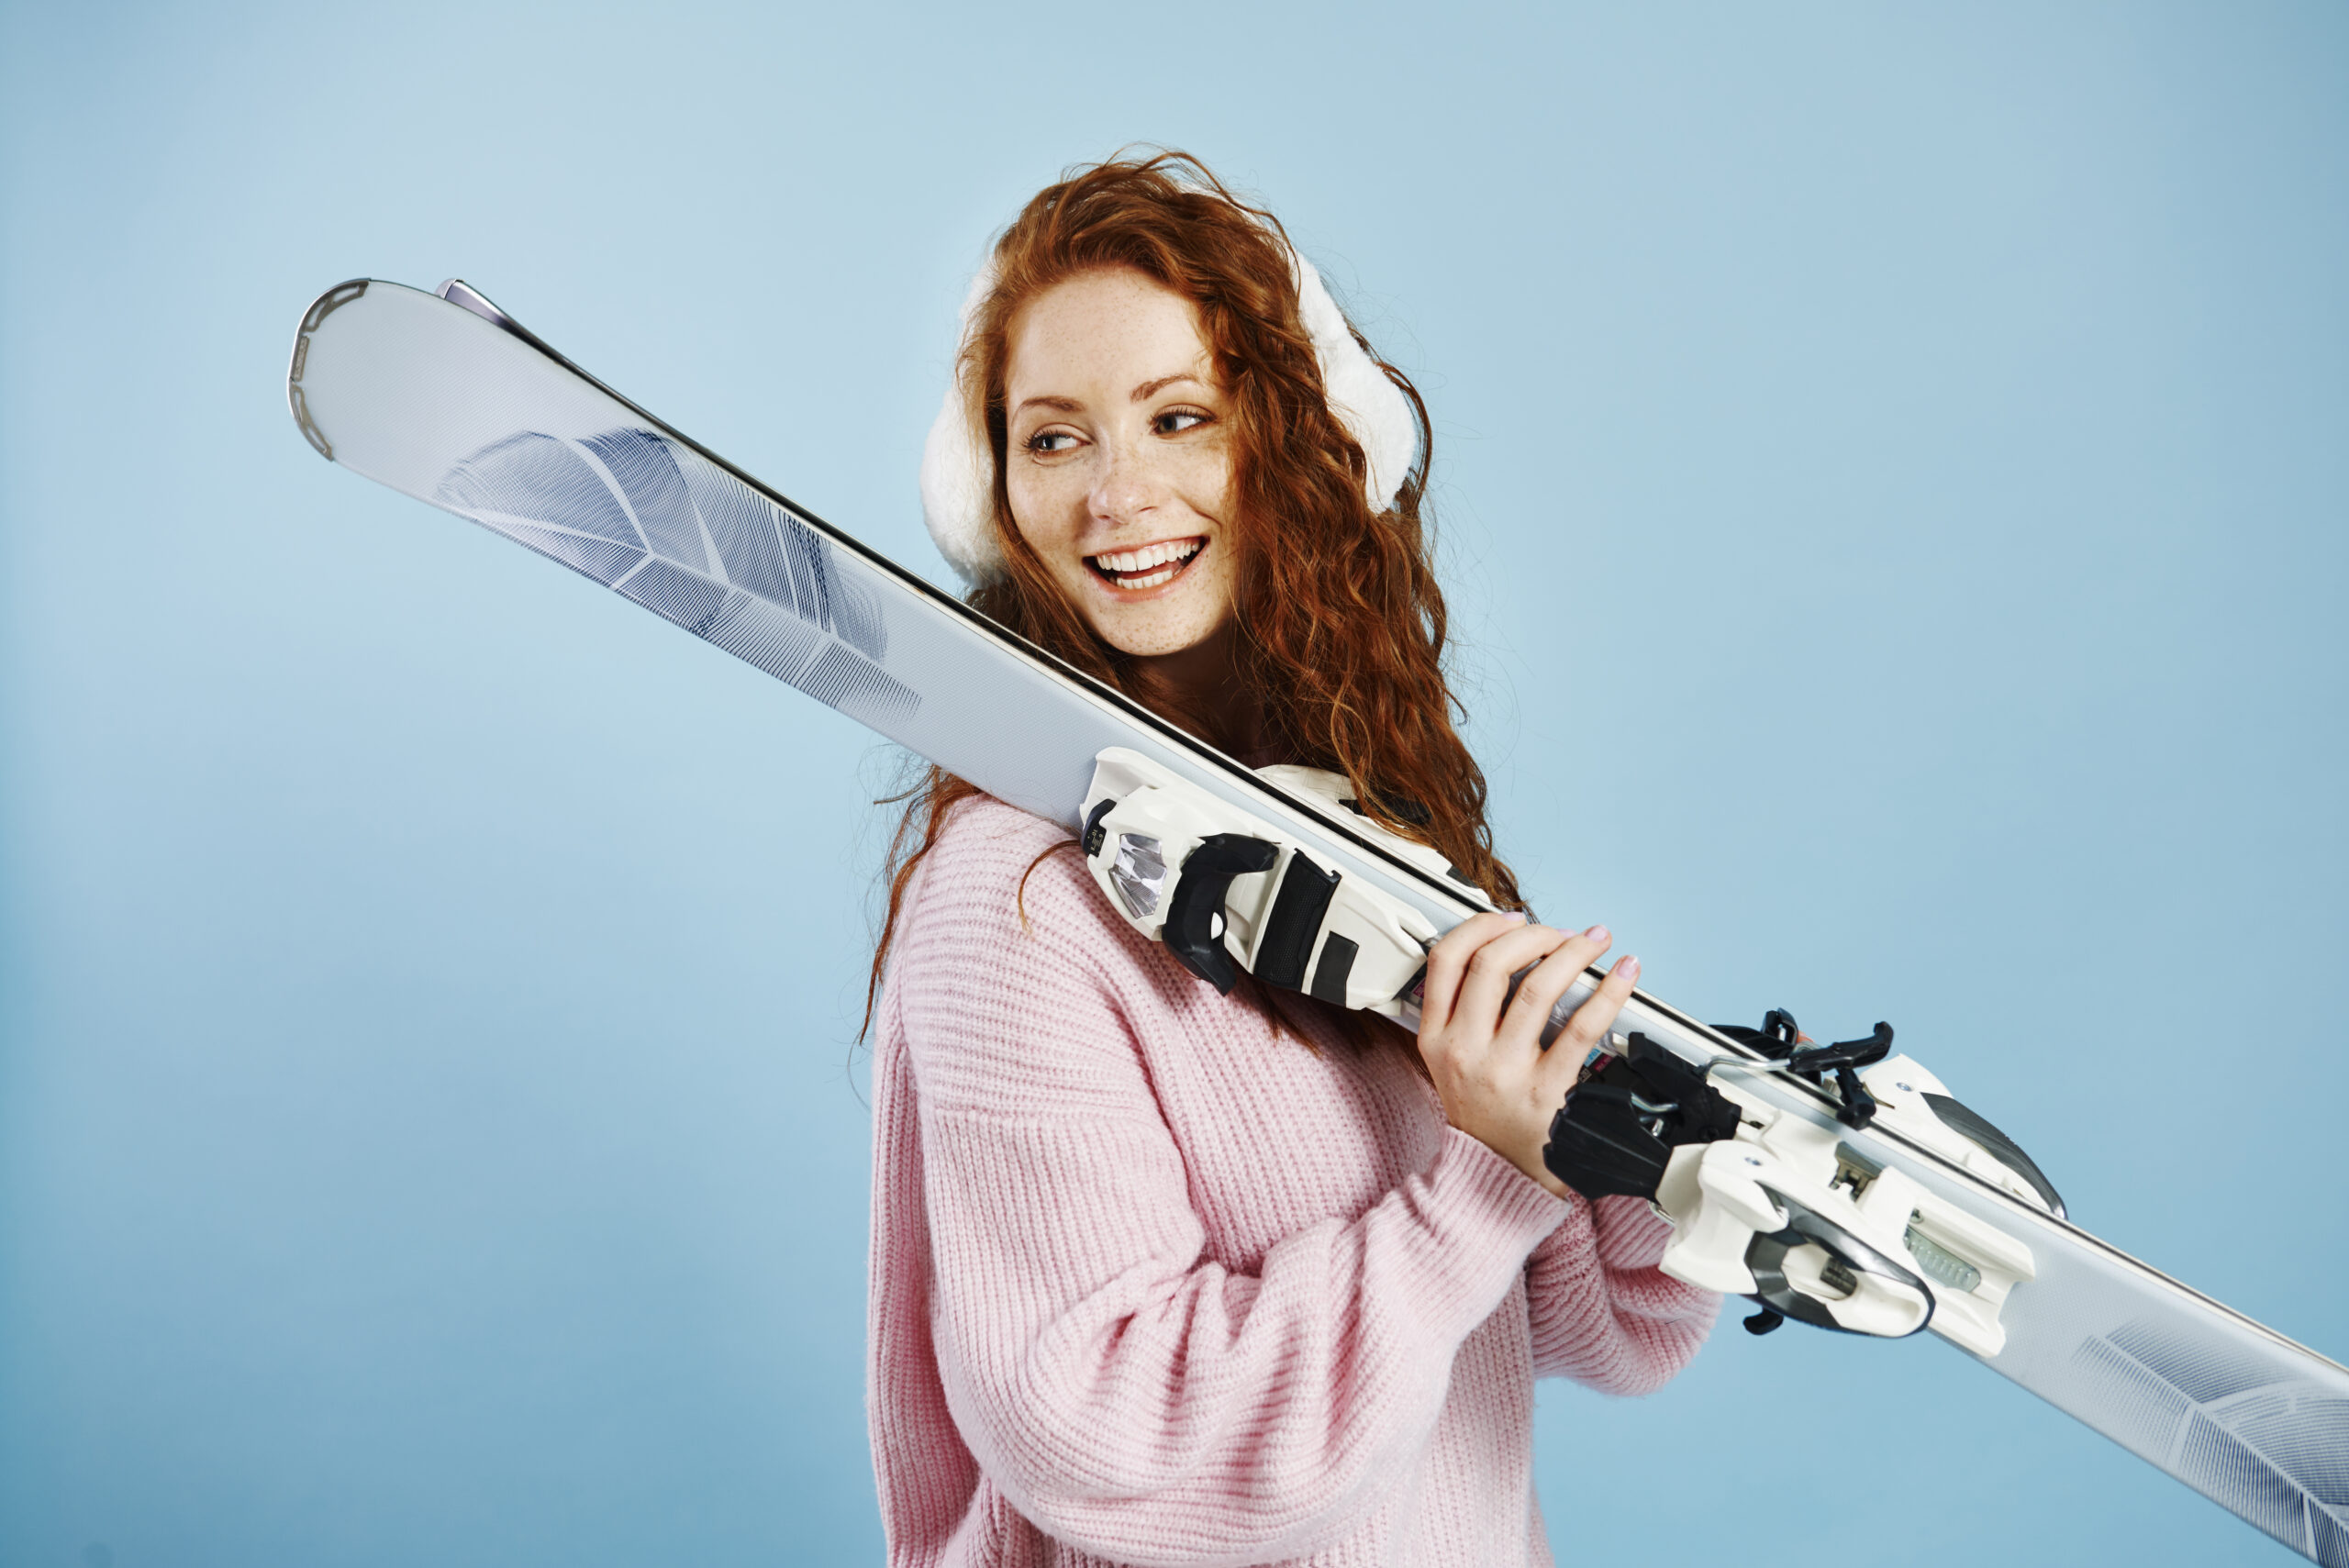
How to Adjust Ski Bindings?
Are you wondering how to adjust your ski bindings but find yourself lost among too many well-meant tips and opinions?
Properly adjusted bindings are the foundation of safe skiing. The staff at the SKI PARK Kubínska hoľa ski and snowboard rental will be happy to help you mount or adjust your bindings correctly. If you’d like to understand more about how bindings work, let’s take a closer look at the key factors that affect your safety on the slopes.
Getting to Know Ski Bindings and the Basics of Adjustment
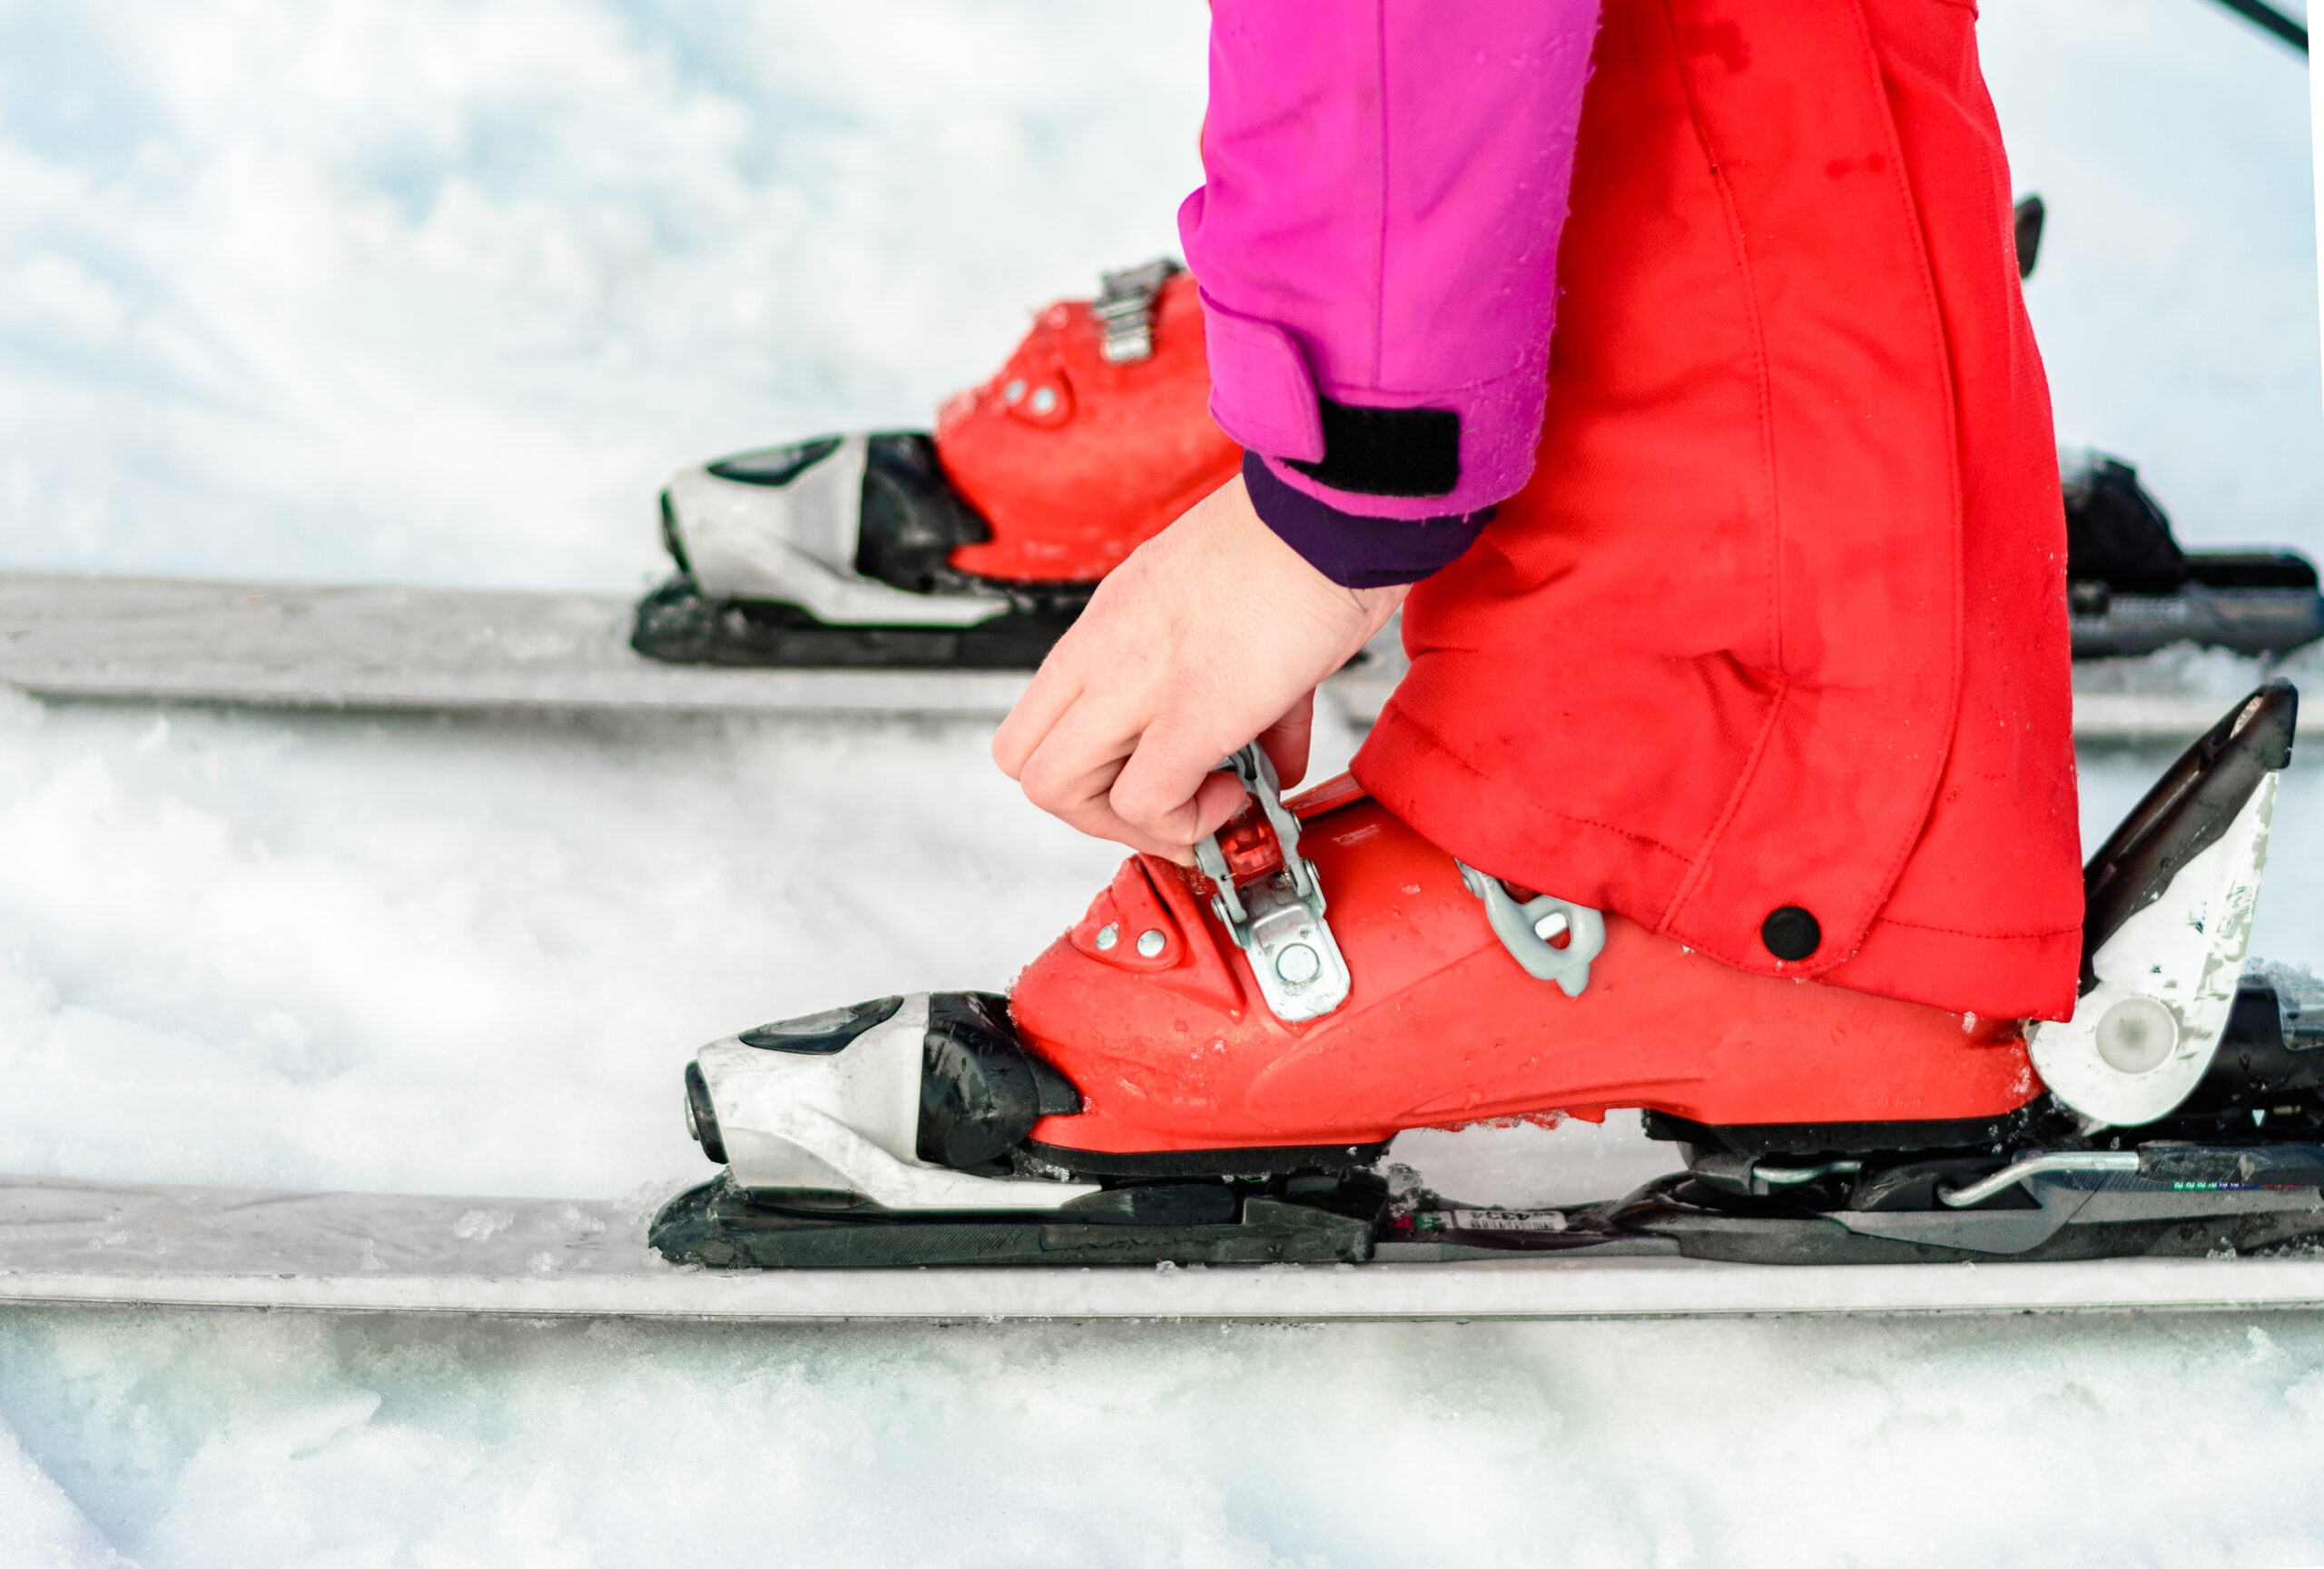
Ski bindings are the mechanisms that connect your ski boots to your skis. They’re essential for smooth movement and have a major impact on your stability, control, and performance. However, bindings have one crucial function — in the event of a fall or an unnatural leg movement, they must release your boot from the ski at the right time to prevent serious injury.
Several individual factors influence binding adjustment, which means that “universal” values should never be used.
The settings should always take into account your boot sole length, weight, height, age, skiing experience, and skiing style. A basic check includes verifying the distance between the toe and heel pieces and ensuring both are properly secured so that your boot doesn’t detach unintentionally while skiing. One of the most important elements is the release force (also known as the DIN setting) — the amount of force required for your bindings to release the boot during a fall.
Proper release adjustment requires both expertise and experience to ensure the ski releases at exactly the right moment.
Safety First
What happens if you underestimate the importance of proper binding adjustment?
It’s estimated that up to one-third of all ski injuries are caused by incorrectly adjusted bindings.
During skiing, an improperly set binding may release too early or fail to release during a fall — both can be dangerous.
Falling with your skis still attached can twist your body unnaturally, greatly increasing the risk of ligament damage, sprains, fractures, or even spinal injuries.
To make sure your bindings are safe, always follow these principles:
-
Your bindings must be compatible with your skis and boots.
-
All components must be securely fastened.
-
Adjustments should always consider your weight (kg), height (cm), skiing ability, type of skiing (downhill, freeride, touring), and other individual factors used to determine your skier code.
Adjusting Ski Bindings According to Skier Experience
Every skier can easily determine their height and weight before the season starts.
However, classifying yourself into the correct skier type based on your experience and skiing style requires your own honest assessment.
There are three clearly defined types: Type 1, Type 2, and Type 3.
Type 1: Beginner Skier
This skier is cautious, has little experience, and prefers blue slopes with gentle or moderate gradients.
They usually ski at slower speeds.
For this type, the release force should be set to a lower value so that the bindings release more easily during a fall or collision.
Type 2: Intermediate Skier
An intermediate skier has more experience, good skiing technique, and physical fitness that allows them to handle red slopes with steeper gradients.
They enjoy skiing at different speeds.
For this type, the release force is set to the standard value from the chart.
Type 3: Expert Skier
An expert skier masters advanced skiing techniques, controls the skis even at high speeds, and often skis on black slopes that present a challenge.
A steeper and more aggressive skiing style leaves little room for mistakes or accidental releases.
For this skier, the release force is usually set to a higher value.
DIN Chart for Binding Adjustment
The DIN chart takes into account the skier’s weight and height to assign a skier code. This code must then be corrected according to the skier’s age and experience level (Type 1, 2, or 3).
The DIN range chart is a standardized calibrated scale. The DIN value (Deutsche Industrie Normen) determines the release force of the ski bindings. To determine it correctly, you must also know the boot sole length in millimeters.

Setting the correct DIN release value requires sufficient knowledge and experience. For an easier estimate, you can use a DIN calculator, but if you’re not confident doing it yourself and want bindings adjusted precisely to your needs, it’s best to rely on professionals — for example, the ski and snowboard rental service at SKI PARK Kubínska hoľa.
Correction Based on Age and Skiing Experience
Although the DIN chart gives a general guideline, determining the final value can be slightly more complex.
In addition to measurable factors such as height, weight, and boot sole length, you also need to make additional corrections. Here’s how to do it step by step:
-
Determine your skier code.
-
For children under 148 cm, use only body weight.
-
For anyone taller than 148 cm, if the values for weight and height do not align in the same row, choose the higher row (which corresponds to a lower release setting).
-
-
Apply age and experience corrections.
Age Correction
This applies mainly to children under 10 years old and adults over 50. For these groups, move the skier code one row higher in the chart. This correction reflects physiological differences, overall physical fitness, and muscle coordination.
Experience Correction
-
Type 1: Stay on the same row.
-
Type 2: Move one row lower.
-
Type 3: Move two rows lower than the original skier code.

Sample Examples for Adjusting Ski Bindings
6-year-old child, 120 cm tall, weighing 24 kg: According to weight, we determine code D (height under 148 cm is not considered). Since the child is under 10 years old, we apply the age correction by moving one row higher. Result – skier code C.
20-year-old beginner female skier, 170 cm tall, weighing 68 kg: According to weight and height, we determine code K.
As a Type 1 skier, she remains on the same row. Result – skier code K.
54-year-old advanced male skier, 196 cm tall, weighing 92 kg: Weight and height do not match in the same row (codes L and M). We therefore choose the lower code (L). As a Type 2 skier, we move one row lower (code M). However, because he is over 50 years old, we correct one row higher again. Result – skier code L.
After determining your skier code, locate the column corresponding to your boot sole length and find the appropriate DIN release value for your bindings.
Ski Binding Mounting
It’s not unusual for ski shops — whether in-store or online — to offer binding mounting services when purchasing skis.
Mounting bindings properly requires both the correct technique and specialized tools to ensure maximum precision.
On the skis, you’ll usually find a recommended mounting point marked by the manufacturer. A special mounting jig or template provided by the binding manufacturer is used to mark the correct positions for screw holes. Each hole must be drilled to a specific depth and diameter. Properly tightening the screws is essential for both the functionality and safety of your ski bindings. For mounting, technicians use drill screws, various drill bits, hole plugs, a binding screwdriver, or a torque wrench to ensure accurate tightening.
Sound complicated? Then it’s best to leave the job to a professional ski service. Before mounting, technicians will need information about your age, weight (kg), height (cm), skier type, and the boot sole length (in mm) — this number is stamped on the inside or outside of your ski boot sole. In addition to these details, they’ll also consider the type of skis — for example, whether they’re junior skis, downhill skis, race skis, or ski touring skis.
Zdieľajte tento blog

- Kubínska
- 4. November 2025
Dalšie články

The most beautiful lookout towers in Slovakia with the best views
- Kubínska
- 8. June 2026
- 8 minutes reading

Pads, Helmet, Gloves: What's Essential and What's Just a Bonus at a Bike Park?
- Kubínska
- 4. June 2026
- 5 minutes reading

21 fun activity ideas for kids across Slovakia
- Kubínska
- 23. November 2025
- 6 minutes reading
Together we make stories.
Together we are #kubinska
